
Tips and Tricks for PvMP
Part 3
Combat
Chapter 3
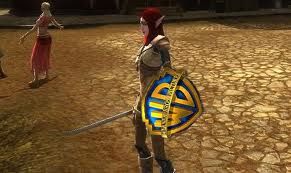
Bill studied a lot. He learned a weakness of stationary hunters, RKs, defilers, LMs and spiders while they are inducting/channelling a skill.
While they do that, you want to move around them so their skills are likely to be interupted or not go off due to you not being in line of sight.
It's kind of similar to circle strafing.
Here's an instructional video on how to look good while doing it:
Chapter 4
Bill also found weaknesses of healers in the moors. They can't heal when they're disarmed (RK) or silenced (Captain, Minstrel, Warleader...).
(Belongs to Grouping) In group fights it always makes sense to have some of the members focus on CC'ing the healers of the opposing faction.
Best classes for that are spiders, lms, flayer wargs, shield guards and burgs.
Chapter 5
In an attempt to test the knowledge he aquired Bill got zerged and died. We are currently looking for the culprits and the place he will respawn.
In the meantime, I'll explain the worth of efficiency in character builds in the moors using 3 of my 8 WL corruption builds. (Outdated)
1. 1v1 build:
As the name suggest, all healing buffs were taken out of it and replaced for traits that actually benefit in a 1v1 where i use no heals. There's stuff people would never trait in it, which makes it a rather special build. The corruptions are a mix of morale, mits and masteries - basically just general buffs. (There's 2 tact mits because tact dmg classes usually have higher dps and WLs base tact mit is lower than phys mit) Of course, there's still room for changes depending on 1v1 situation.
Because who traits phys mits when there's noone at 1v1s who does phys damage?
2. raid/group build:
This is the most "standard" build and I wouldn't be surprised to have anyone say they have a similar build. It's a build that focuses on big action and healing with defensive banner and aura.
You have capped phys mits and almost capped tact mits, about 50% crit defense, high heals and average morale with this build. The class traits have pretty much everything for grouping included except for the enhanced rez, which should only be traited in pure raiding builds. Of course, here's also room for situational changes.
3. solo/group build:
This is a very unique build that is most effective in small group action. both mits are pretty much capped, and the healing is slightly worse than in the build before (but still very decent).
The huge durability of this build is best used for melee trains (because mits are capped, aura of command is the better aura choice, same goes with Attack damage banner) and for situations where your own death is inevitable. And again, still room for perfections depending on the situation.
Results 26 to 50 of 76
Thread: This is how i PvP
-
Mar 10 2015, 01:14 PM #26

 Member
- Join Date
- May 2012
- Posts
- 408
Last edited by Blato; May 26 2016 at 02:15 PM.
-
Mar 14 2015, 05:07 PM #27
Member
- Join Date
- May 2012
- Posts
- 408
Be nice to others...
Last edited by Blato; May 26 2016 at 02:14 PM.
-
Mar 20 2015, 08:53 AM #28
Member
- Join Date
- May 2012
- Posts
- 408
 How to properly fool someone.
One does not simply buy ice cream.
How to properly fool someone.
One does not simply buy ice cream.
Last edited by Blato; May 26 2016 at 02:14 PM.
-
Apr 02 2015, 08:45 AM #29
Member
- Join Date
- May 2012
- Posts
- 408
 This is how to correctly behave during a Zombie Apocalypse.
Last edited by Blato; May 26 2016 at 02:15 PM.
-
Apr 02 2015, 11:12 AM #30
Member
- Join Date
- Aug 2012
- Posts
- 267
But what about Bill and his adventures Ish?
 Tilimir ~ Crickhollow
-
Apr 03 2015, 07:18 PM #31
 Member
- Join Date
- Nov 2014
- Posts
- 517
What about...creep hobnanigans?
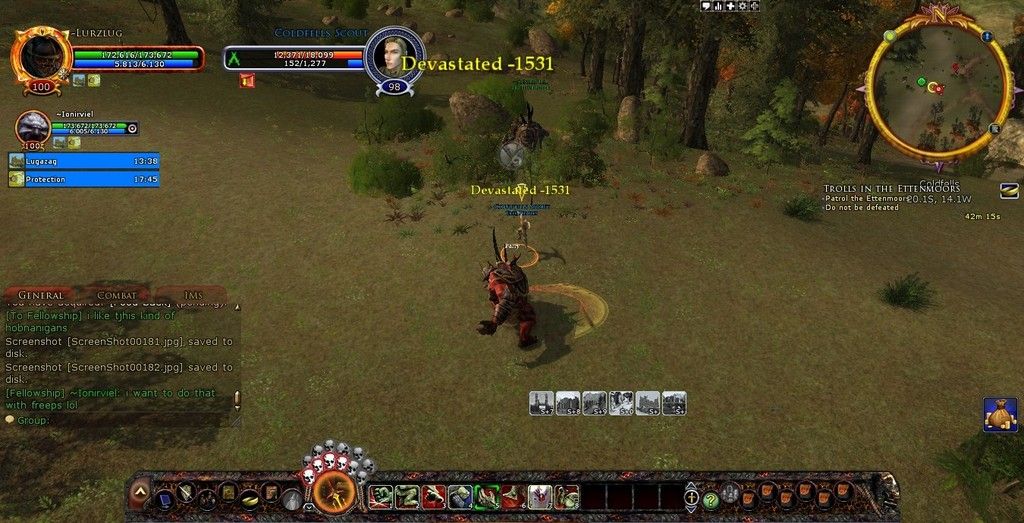
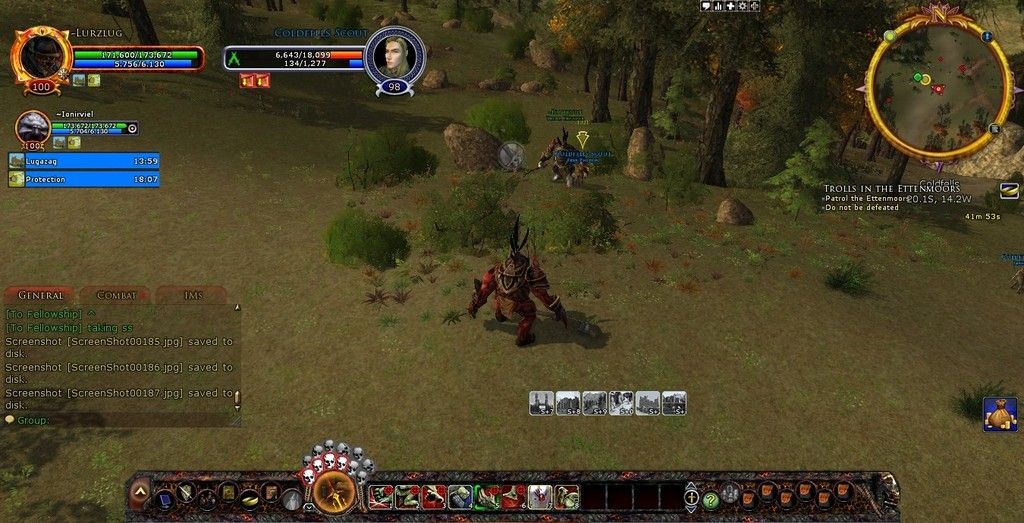
Freeps got jealous when seeing this version of hobnanigans so they tried to stop it with any means necessary, but they failed
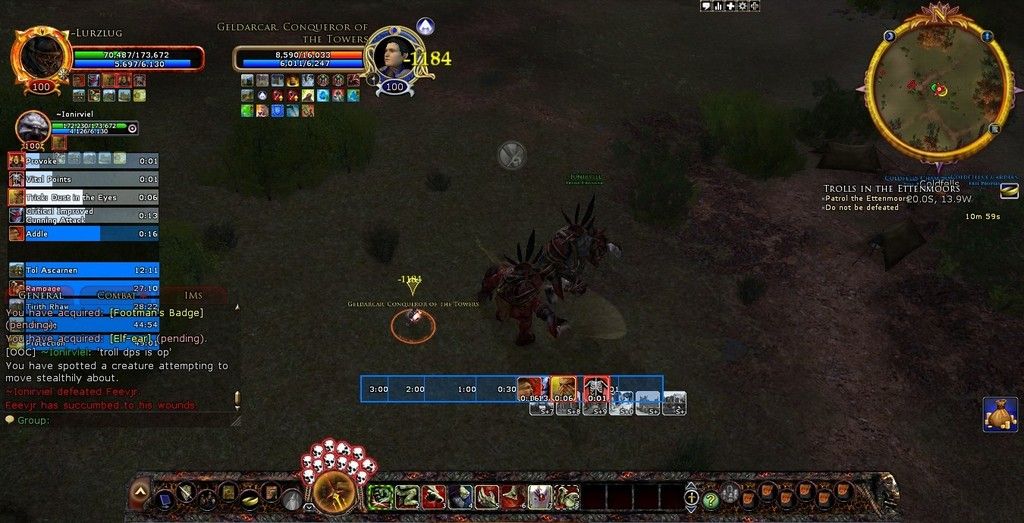

Then after a long time they finally managed to stop it, after the sacrifice of many lifes.
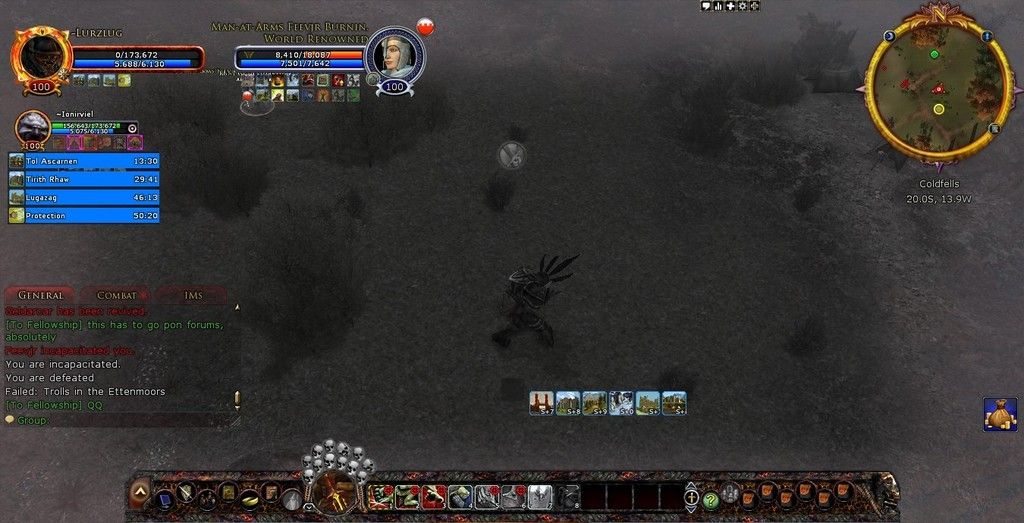
Our sacrifice won't be useless, we'll have creep hobnanigans one day!
Gladden: Bregwing(r7 cappy), other 3 100s
Semiretired
-
Apr 06 2015, 08:15 AM #32
Member
- Join Date
- May 2012
- Posts
- 408
Tips and Tricks for PvMP
Part 4
Combat
Chapter 6
After a long while looking, our investigation team found Bill involved in an endless Raid vs Raid fight. It took so long because he didn't show up at the Rez point, but instead got rez'd by a healer over and over again. The raid he was in was incredibly coordinated and, even though they had less numbers, they held themselves for a long time.
He later found out, that a lot of members in the Raid were talking in RaidCall (link). It's a VoIP program like Teamspeak, which is being used by many Crickhollow PvPers as of now. Some even want everyone in their group to be in RaidCall. It's has a lot of advantages compared to the ingame Voice chat, which is why they use it.
If you ever plan to play on a german (don't know about the rest) server, they tend to use Teamspeak instead.
Chapter 7
Mainly for healers (especially warleaders)
After this INCREDIBLY long fight, Bill started thinking about the ingame reviving skills.
Since most of them revive people with a rather low amount of Morale/Power, the healers best way to face this (and safe up trait points because #### traiting rez) is to have a big heal ready directly after the usage of the reviving skill. For example, a Warleader - that uses Quitters after an untraited rez - will have his full fellowship up at around 70% to 100% morale after the rez, which prevents an immediate second death
And now, some malicious joy:
[This guy got bashed 4 times in a row; bash = 17% chance, the last bash (the skill where he charges at him) had 100% | Meaning: There was a <0,5% chance that he would die like this.]
Last edited by Blato; May 26 2016 at 02:16 PM.
-
Apr 09 2015, 08:14 AM #33
Member
- Join Date
- May 2012
- Posts
- 408
 RIP
In commemoration of Lotro PvMP. The rise and the fall. (* Shadows of Angmar; † U16)
RIP
In commemoration of Lotro PvMP. The rise and the fall. (* Shadows of Angmar; † U16)
This is only a joke.
Last edited by Blato; May 26 2016 at 02:17 PM.
-
May 10 2015, 09:38 AM #34
Member
- Join Date
- May 2012
- Posts
- 408
Ri - diciulous!
Last edited by Blato; May 26 2016 at 02:18 PM.
-
May 14 2015, 08:20 PM #35
 Member
- Join Date
- Sep 2010
- Posts
- 1,086
lotro pvp at its finest - all in 99% of the time, mother truckin' pushes all day long
Lotro PVP Videos l Thorfinn || r14 champ, r12 burglar- Crickhollow || r11//r9 warg Crick//Elendilmir || + other stuff
-
Jul 11 2015, 10:51 AM #36
Member
- Join Date
- May 2012
- Posts
- 408
 positive thinking
So, after reading lots of complaints on the BR Forums about PvP Balance, the new map and whatsoever - I've decided to speak out my thanks to Turbine and the Lotro dev team for not giving up on this (partly) horribly inexperienced and (partly) good-for-nothing complainer PvP Community.
As far as I'm concerned, the new changes are definitely going to get some fresh air into our PvP environment, I might start playing my WL more if i can finally find things that don't outheal my dps with no chance of killing - and that is atm only hunters and the worst noobs xDMake Moors Great Again - Crickhollow
Ishlan, Sahlin
too many creeps and freeps to list all
-
Jul 11 2015, 11:19 AM #37
Member
- Join Date
- Nov 2014
- Posts
- 517
Freeps take even less damage than on live, so only hunters, some burgs and noobs can die even in beta. Originally Posted by Blato

Gladden: Bregwing(r7 cappy), other 3 100s
Semiretired
-
Jul 26 2015, 01:00 PM #38
Member
- Join Date
- May 2012
- Posts
- 408
A lesson in "Cricks way of PvP'ing"
Respect other fights and never give up! (props to the principal)
Last edited by Blato; May 26 2016 at 02:19 PM.
-
Jul 26 2015, 01:05 PM #39
Member
- Join Date
- May 2012
- Posts
- 408
Originally Posted by Blato
And, because japanese humor is great, another weird one:
Last edited by Blato; May 26 2016 at 02:19 PM.
-
Jul 29 2015, 08:02 PM #40
 Member
- Join Date
- Jul 2012
- Posts
- 57
Video cameras caught the moment when Apacagon tries to steal the kb, but it is said that this happens all the time.
[/QUOTE]Apagon r12 Guardian - Feianor r10 Rune-Keeper
-
Aug 03 2015, 01:12 AM #41
 Member
- Join Date
- Dec 2010
- Posts
- 974
wb apa 4206969
Korth - Parked At GV - Arkenstonned
Korn - Prime-Evil-1 -Arkenstonned
& Many Others on Crickhollow
-
Aug 03 2015, 09:26 AM #42
Member
- Join Date
- May 2012
- Posts
- 408
So, Crick is one of the remaining worlds....
This means I don't have to restart this Thread in a new Forum section. This needs to be celebrated (less work equals revolution).
Last edited by Blato; May 26 2016 at 02:20 PM.
-
Aug 11 2015, 11:57 AM #43
Member
- Join Date
- May 2012
- Posts
- 408
I think we need a lotro pvmp version of this!
requires some League of Legends knowledge to understand
Last edited by Blato; May 26 2016 at 02:20 PM.
-
Aug 11 2015, 01:18 PM #44
 Member
- Join Date
- Apr 2012
- Posts
- 56
Nice song, waiting with excitement for your pvmp version of this. Will you get Bill to sing it? Originally Posted by Blato
-
Aug 14 2015, 07:51 AM #45
Member
- Join Date
- May 2012
- Posts
- 408
I never said I'd make one, don't have the time to do so. Originally Posted by Teledion
But, I have the time to show you funny videos.
Link to the 3 videos about the main lotro movies: clickLast edited by Blato; May 26 2016 at 02:21 PM.
-
Aug 17 2015, 08:56 AM #46
Member
- Join Date
- May 2012
- Posts
- 408
The greatest quote of all time
"In America, you build steel bridges.
In Soviet Russia, we steal built bridges!"
Source:
Last edited by Blato; May 26 2016 at 02:21 PM.
-
Sep 04 2015, 11:00 AM #47
Member
- Join Date
- May 2012
- Posts
- 408
GET OFF MY LAWN!
Make Moors Great Again - Crickhollow
Ishlan, Sahlin
too many creeps and freeps to list all
-
Sep 17 2015, 11:07 AM #48
Member
- Join Date
- May 2012
- Posts
- 408
A more serious post
So, if you've checked the news lately you might have found something about the refugee problem in the EU.
I live in Germany, and we expect almost a million refugees to arrive here by the end of the year. I personally don't have a problem with that many refugees arriving here, but a lot of people feel anxious about the sudden change; You will run into a group of people that can't speak your language, might look suspicious or even are terrorists who abuse the fact that there's so many people fleeing into the EU at the moment. While I can understand such a fear, I couldn't imagine being actually in that situation.
A lot of people i know have a problem with the fact that all of these people will be living on the cost of taxpayers and may not even be satisfied with what they get.
I mean, if you came to a rich country as a refugee, you might expect great things that are nowhere near how things actually are.
As an example:
"Mohammed Mazher Alkilany, 28, a former PR consultant for the Damascus tourism board who is living in a temporary shelter in east Berlin, said his family of three is living on 233 euros a month provided by the government — a sum he described as too little to cover the cost of warm clothes and blankets for the coming winter.
But they are also living in free temporary housing in a building outfitted with a playground and rooms with shared kitchens, bathrooms and washing machines. He insisted, though, that he did not come to Germany simply for its generous benefits." source
Imagine you'd have to pay 233 euros per 3 refugees, that would be 62 million euros (per month) for the estimated 800.000 to come to germany.
While I still don't have a problem even with the tax money, I really get upset when i read something like this:
"ameron announced Monday that Britain would resettle 20,000 Syrian refugees directly from the Middle East over the next five years — a figure equal to the number of asylum seekers Germany took in over the weekend.
Cameron, however, said Britain was nevertheless acting with “head and heart” by accepting refugees only from camps around the Syrian border, while seemingly taking a jab at nations such as Germany for encouraging illegal trips by accepting so many.
“We want to encourage people not to make that dangerous crossing in the first place,” Cameron said." source
Or:
"Within Europe, countries are also trying to restrict refugees from getting to or staying within their borders. Hungary has erected a razor-wire fence along its border with Serbia in an effort to prevent refugees from crossing into Europe over land. It also announced new laws that will make it a crime to damage the fence or cross it, and will make illegal border crossing punishable by up to three years in prison. The Hungarian government also shut down train service to Germany in an apparent effort to discourage refugees from using Hungary as a transit country on their way to seek asylum there.
And Austria has now introduced checks along its internal border with the rest of Europe to search for refugees and other immigrants being smuggled into the country. Although the government claims that the checks are a humanitarian measure intended to prevent tragedies like the recent deaths of 71 people who suffocated in the back of a smuggler's truck, critics have charged that they constitute a violation of the EU's open-border policy." source
Last time i checked, it was disgraceful to criticize people or a country for the fact that they are helping others, while not doing much on their own. Like what the ####.
Well, I don't really want people to answer to this, since this is my holy thread, so if you want to say something, do it when I'm ingame.
Make Moors Great Again - Crickhollow
Ishlan, Sahlin
too many creeps and freeps to list all
-
Sep 17 2015, 11:13 AM #49
 Defender of the Hornburg
- Join Date
- Mar 2012
- Posts
- 1,395
I totally support that Ish. Gut das nicht nur ich meinen Mund aufmachen kann. Nice job as always Ish!
Fai ciò che ti rende felice.
Sizzlac - R12 Loremaster Zweisocke - R13 Warg
Arkenstone
-
Sep 18 2015, 06:01 AM #50
Member
- Join Date
- Sep 2010
- Posts
- 1,086
In case David Cameron plays on Crick, we're letting him know that he's lame! Originally Posted by Blato
Lotro PVP Videos l Thorfinn || r14 champ, r12 burglar- Crickhollow || r11//r9 warg Crick//Elendilmir || + other stuff


 Reply With Quote
